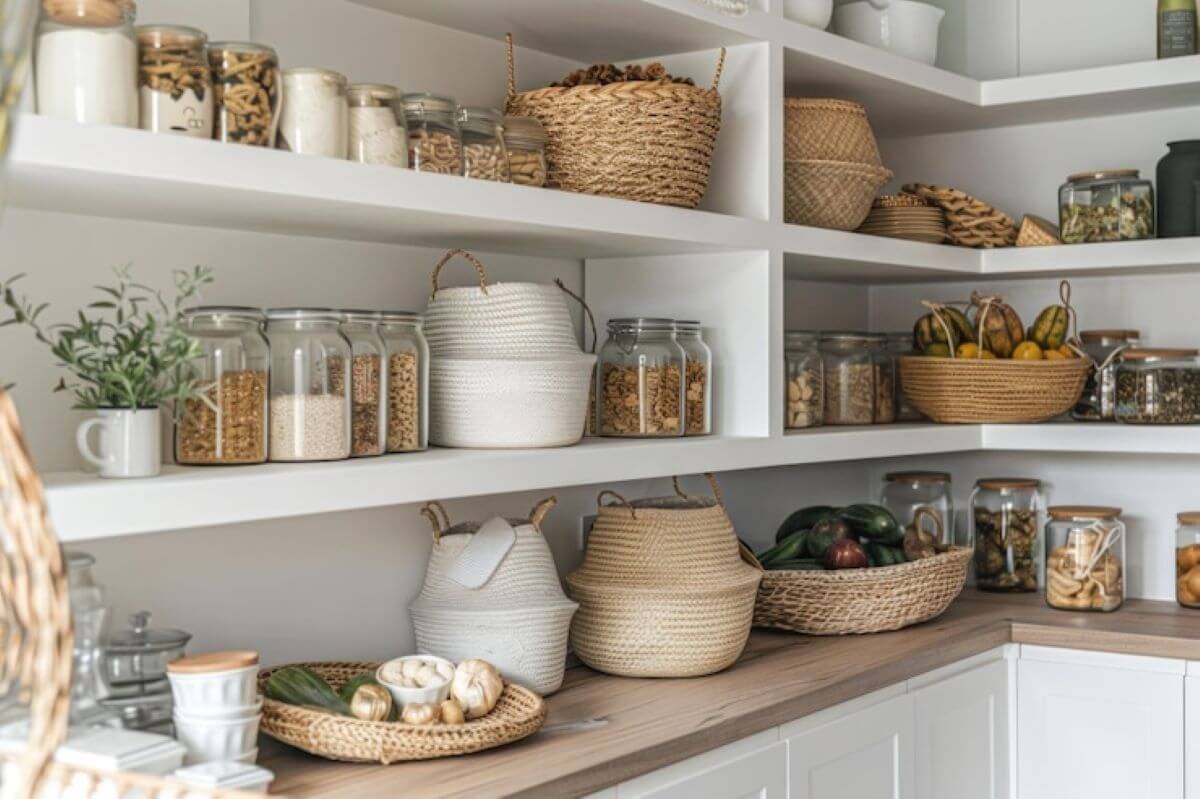
If you are fond of making DIY pantry shelves, you are in the right place to explore and understand how they are built. DIY ideas are the most used and famous for organizing books, showpieces, and many other things one wants. DIY pantry shelves are useful in many ways to save your storage space.
Several DIY pantry shelf ideas have been shared across the internet which help people to create innovative and stunning pantry shelves. DIY pantry shelves integrate both style and functionality into your pantry. By using custom wood shelves, one can easily maximize the storage and organization options in the pantry.
This guide provides you with easy-to-follow instructions on how to easy and attractive DIY pantry shelves, as well as maximize your storage space.
Prior To Starting
Before starting make sure you have every material you need to create DIY pantry shelves, and keep some key understanding before you start. Making the most of your pantry’s efficiency and storage along with organizational potential is to plan a layout that suits the space and allows for adaptability.
At first, adding too many shelves or making the layout too specific might look good, but later your space may change over time so you don’t want to lock yourself into too tight of an inflexible design.
Designing Your Pantry Layout
Layout is paramount while designing the pantry, it decides the space, location, and practicality. Begin by measuring some common items like cooking oil, cereal boxes, and anything else that comes in taller containers you have. The layout offers a great deal of diversity to your design. Try to add one vertical shelf to have enough space to accommodate large items.
Always measure the items you want to place on shelves for ease of layout design. Different ideas can be used to design DIY pantry shelves, choose any design according to your interests and needs. To accommodate smaller items choose minimal designs that add functionality and creativity to your space.
Types of Woods
Different types of wood can be used to create amazing and stunning DIY pantry shelves. One of the most used types of wood for DIY pantry shelves is Plywood as it offers durability and is cost-effective.
If someone wants more strength, they can choose a thickness greater than 3/4 inch in plywood, which is 11/4 inches.
Is Plywood Or MDF Better For Shelves?
MDF is prone to drooping when used for shelves it cannot withstand heavy loads and even cannot support them, so better for soft items. On the other hand, Plywood is undeniably strong and offers strength making it an ideal option for shelves that need to accommodate heavy items such as books and other weighty objects.
What You’ll Need
Equipment/Tools:
- Measuring tape
- Drill
- Brad nailer
- Clamp
- Tape Measure
- Stud finder
- Level
- Safety glasses
- Dust and fumes mask
Material:
- Wood Glue
- Wood filler
- Stain or paint
- Primer
- Heavy-duty drywall anchors (if needed)
- Plywood sheet
- Brad nails
- Pine boards
- Lumbers
How To Build DIY Pantry Shelves?
1. Measure And Mark Vertical Shelf Placement
Mark your shelves’ vertical placement using a specific level, do this by using your pantry items as your guide. Mark the required walls where you want to build shelve (side wall and back wall).
Always try to prioritize the thickness of the shelf and shelf frame (measurement can be of your choice).
2. Locate And Mark Studs
Utilize a stud finder to identify and mark the studs on either side you want.
You should not have trouble locating several studs on the back wall, but there’s a chance you may find more than one on the side wall, make sure to use heavy-duty drywall anchors for more support and strength.
3. Cut Frame Pieces
Each shelf frame will look like a ladder. A front and backboard will span the full width of the wall and several shorter “rungs” will connect the two boards and provide support in the middle.
Cut the frame pieces according to your needs and the material you want to accommodate.
4. Partially Assemble Frames
Start by partially assembling each shelf frame by securing the backboards to the ends of each rung with wood screws.
Assembling the frame is necessary for support and will add shelf functionality. DIY Pantry shelves add attraction and a sense of creativity to your space.
5. Mount Frames
Measure the length and mark the place where you want to align your board, place the backboard against the wall where you marked.
Make sure to locate the board perfectly where you are marked, and screw through the board into each marked stud by utilizing wood screws.
6. Secure The Front Frame Member
Raise the front frame member into position and fasten it to the mounting portion of the frame by screwing through the front piece into the ends of the rung, securing the frame is essential for support.
7. Cut Shelf Pieces
Before doing anything else try to determine the dimensions for each shelf, try to use the exact frame dimensions. Doing this will make the looks of your shelves clean and disciplined on the wall.
For cutting shelf pieces use the table saw to make precise cuts on plywood sheets, and use chalk for drawing perfectly straight lines, then use a circular saw for cutting.
8. Fill Nails Holes
Fill each brad nail hole with wood filler and sand it smooth after it dries. If you want to stain shelves, opt for a stainable wood filler.
Afterward, you can paint any wood filler, this will give a smooth texture and enhance the looks of the shelves.
Frequently Asked Question
Q1.What type of shelving is best for Pantry?
Ans: There are many shelving for reach-in and recessed pantries, but Shallow shelves are one of the most liked and best options many people opt for shelves.
Q2.What are the best boards for pantry shelves?
Ans: Oak, marble, cherry, and mahogany are strong and resilient woods. It offers a great deal of durability and strength to accommodate heavy loads of cans, bottles, and even appliances
Q3.Can I use MDF for pantry shelves?
Ans: MDFs are easy to customize to any space and undoubtedly straightforward to construct. They’re made entirely of two things 1 x 2″ pine boards and 3/4″ MDF sheets.

